Acrylic paints
They can be used to color your feathers, bought on the market or found on the stroll, in no time at all. So, what you need to paint with this method:
- White (or as light as possible) feathers of any birds.
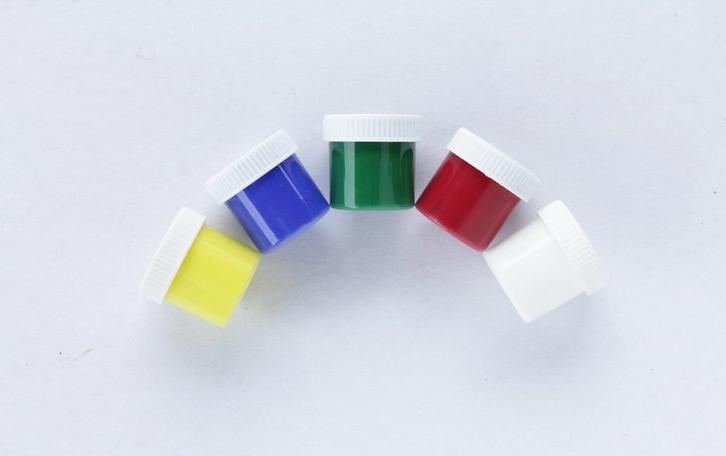
- Acrylic paint in the colors you need.
- Fine and medium thickness art brushes.
- A glass of water to rinse your brushes.
- Palette.
Step One: Decide on colors and set up your workspace
Play around with the cans of paint, setting them up to see what color combinations you would like to end up with. Don't rule out the possibility of using white or black on top of the main coloring, as they can give a natural, yet indescribably beautiful and striking contrast on the feathers.
Remember, you don't need to buy extra cans of paint at all to use purple, orange, and pink, for example. Purple can be obtained by mixing blue and red acrylic paint, the combination of red and yellow turns into orange paint, blue and yellow will give you a green hue, and white and red will form pink.
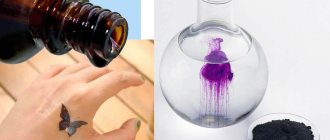
Before starting the creative process, cover your workspace with old newspapers or oilcloth, as acrylic paint is very difficult to clean off furniture after it dries. Take a small amount of each paint you need and put it on a palette and mix the colors together here, if necessary. The fact is that you should not take acrylic paint directly from the jar throughout the painting, because from long contact with the air it can dry out.
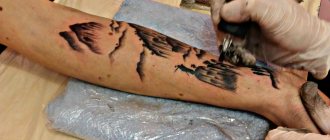
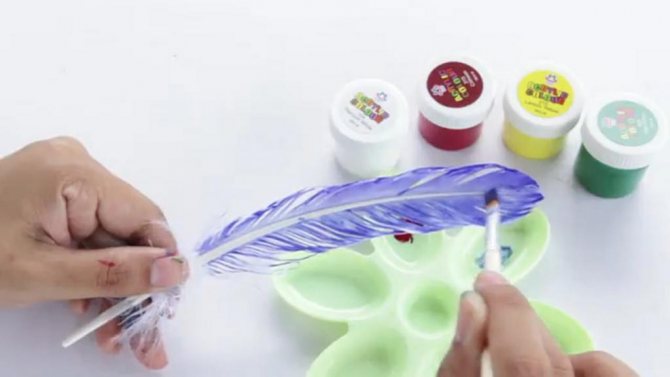
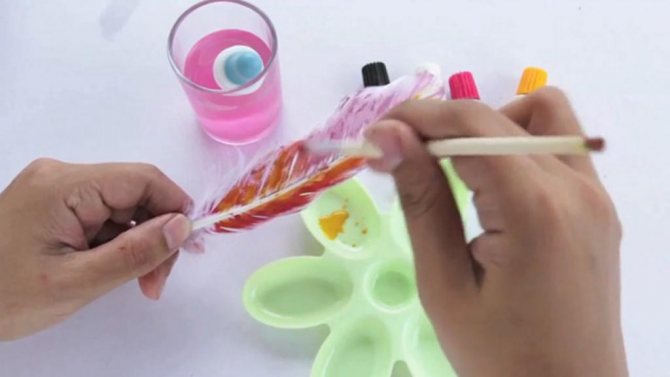
Proceed to paint the front side

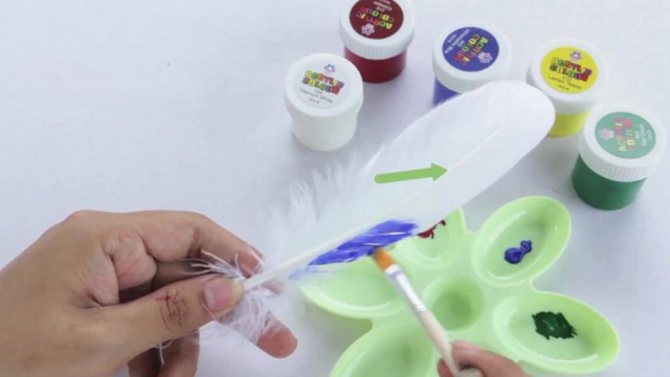
Take a brush of medium thickness and dip in the paint that will form the base of the painted feather. Use very little, otherwise the feather tufts will stick together. If there is not enough color, you always have time to add it.
Move from the base to the tip, barely touching the surface of the pen with the painted brush and not trying to penetrate. You should paint strictly in the direction of the tuft growth - this will ensure an even and beautiful coverage of color and prevent damage to the feather's structure.
Allow the feather to dry, then paint the back side
Place the carefully colored feather on a flat, dry surface and let it dry for at least one hour. During this time, do not touch the painted surface, and only after an hour can you check the degree of dryness by lightly touching it with your fingers. When you are sure that the paint has dried and you are satisfied with the result, you can paint the other side. You should note that up to this point there are still a lot of white spots and lint on the front side, but when you give the color to the back side, the front side is also transformed.
A Brazilian man cycles 36 km every day to take his beloved home
Washing often is helpful: shampoo and hair care myths that only hurt
If it hasn't snowed much, there won't be a harvest: December 16 - The Day of Ivan the Silent
It may well be that the back side is completely colored in the process of painting the front side. There's nothing unusual about that - you just don't have to wait another hour (or more), and go straight to the decorative part.
Make the feather not just colored, but really beautiful
You can use absolutely any color for the final design of the feathers, but it is better to choose only one color. Dark (even black) patterns will look especially beautiful on light-colored feathers, and, accordingly, light (even white) on dark ones. Carefully consider the bright feathers of colorful birds - this is the rule by which Mother Nature herself "draws" her living pictures.
Apply the decorative pattern with the thinnest brush that you have. Do not be afraid to experiment! You can depict something abstract, such as patterns, curls, peas or zigzags, or you can draw a whole picture, consisting of many fine lines.
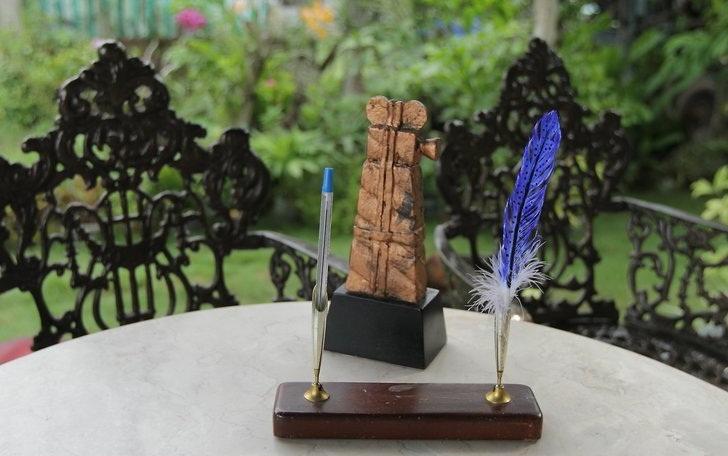
If the craft in which you plan to use these feathers will show only one side (for example, if it is an applique or part of a carnival costume), you can use them right after the drawing dries. If both sides are important (for example, if you want to make earrings or a keychain for a bag), then after it is completely dry, you will need to repeat the pattern on the back side as well.
She lost weight: what Sofia Tarasova sacrificed for "VIA GRA" (new photos)
Why French children behave well: eight methods of their education
Rare shot: Viktoria Isakova showed her grown daughter by Yuri Moroz (new photo)
Remember that acrylic paint can hopelessly ruin any thing if you start to touch it before it is completely dry. So take your time using feathers by letting them dry thoroughly in a warm, windless room.
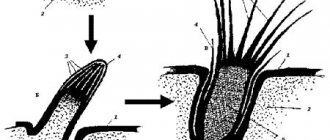
Feather - Type C
Step 1: This feather is quite simple. You will need to do a darkening of the paint. First draw a center line. Draw random strokes at a 45 degree angle from bottom to top. The lines should follow the shape of the pen. The strokes are narrower at the bottom and widen toward the middle, and tapering again at the top.
Finish painting to the end. Darken the strokes. The inner part, from which the strokes start, should be darker. The bottom part has a few strokes that change angle and move down slightly.
Step 2: Repeat the same thing on the other side. Wasn't that easy? You've finished another feather.
Get ready to work.
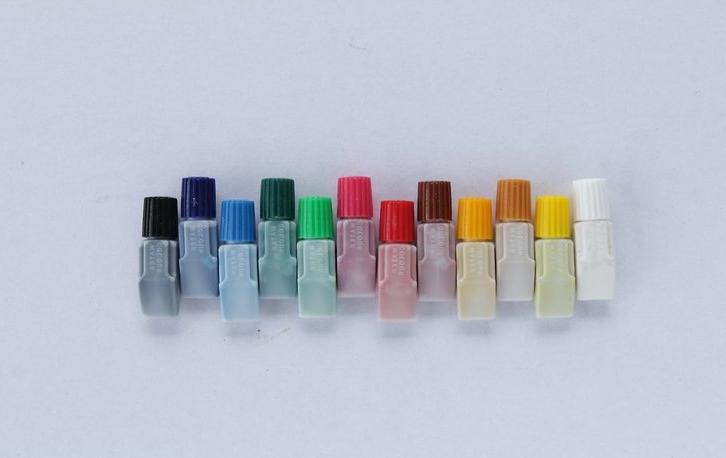
This step is pretty much the same as the first step in using acrylic paints. Select the colors you need and prepare your work area. Watercolor is very easy to clean with plain water, but you should still cover your desk with a couple of newspapers to save yourself the extra work.
Vietnamese police academy student tells how she takes care of her facial skin
"We are still friends": Derevyanko commented on the breakup with his wife
Women's jeans: before buying them, you need to pay attention to one detail
When you have decided on colors or their combinations, transfer a small amount of watercolor into the containers of the palette.
Water Color Master Class: Bright Feathers
Video watercolor drawing lesson "Bright Feathers". Artist-teacher: Sophia Rodionova. The lesson was filmed as part of the May Doodle&Sketch Author's Boxes, Sofia was one of the artist authors of these boxes! Sophia is an aquarelle artist who just can't help but draw! Her work is about moments and emotions, endlessly changing one another. These are bright watercolor stains over which the details are elaborated so that you feel the atmosphere that the artist wanted to convey in her work. A huge artistic experience and the desire to share, multiplied by the inexhaustible love for the business - that's what awaits you in the lessons from Sophia! You'll break down theoretical material, complete exercises, practice creating special effects in watercolor, and create a great and spectacular final work with brightly colored pens! You will learn ✔ Separate work by tone ✔ See the difference between tone and color and learn how they work in artwork ✔ Work with nature, Take it apart by tone and color ✔ Basics of working in one coat and in multiple layers ✔ Simplify and work in "spots" in watercolor ✔ Create watercolor effects with salt and spray ✔ Convey atmosphere and mood in your watercolor work without detailed detail through watercolor techniques and light accents ✔ Be bolder and create the illusion of spontaneity and ease of work. You will learn ✔ How to draw watercolor ✔ How to overcome the fear of white sheet ✔ How to draw from nature ✔ How to draw feathers in watercolor ✔ How to use salt in watercolor to create effects The video lesson finishes with large final work with colored feathers! Lesson Duration Video Lesson Duration: 1 hour 22 minutes View Lesson All Doodle&Sketch Box and Doodle&Sketch Subscription holders can watch this great full video drawing lesson in their Creative Spaces. Art supplies Make sure you have the following art supplies for a comfortable learning experience: ✔ AQUAREL paints White Nights Watercolor, Rembrandt or any other manufacturer in the following colors: - Ceruleum (Rembrandt is used in the lesson) - Blue - Indarene Blue - Prussian Blue - Hinacridon Pink - Lemon - Red Ochre ✔ Brushes - Squirrel, squirrel mix or imitation squirrel brush, round, No. 6-8 or Chinese calligraphy brush - Flutz brush, synthetic/bristle brush, 25 to 30 mm - Fine liner brush (liner, schlepper), No. 1 ✔ PAPER FOR LETTERS, A4 size, you may use any cellulose paper, A4 size. Pre-exercise paper is needed. You will need 1 sheet. You can use any cotton paper for watercolor, Torchon or Fin (cold-pressed), at least 250gr. You will need 1 sheet for the final work. In this lesson, Sophia uses Saunders Waterford, Torchon, 300 g, 100% cotton, A3 size ✔ PAPER ✔ Pencils, A TABLET and a BLUE ✔ A Jar with a Spray Dispenser ✔ A PAPER TAPE ✔ 2 TABLES OF WATER ✔ A Rag or a TABLET ✔ A TABLET or a WHITE TABLET Any ability level. This class will be of interest to students with beginner skills as well as advanced artists. Want to learn how to draw? With us it's easy! Learning to draw is a great pleasure when you learn from the masters of their craft!
ArtProfessor: Sophia Rodionova
Music: www.bensound.com
Proceed with the coloring
Before you start dyeing the pen with watercolor paint, you should work it with a clean brush lightly moistened in a glass of water. This will smooth out the structure of the pen, preparing it for watercolor application.
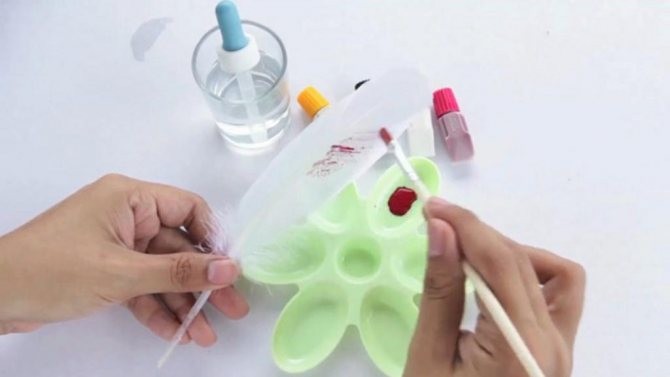
Watercolor is a water-based paint, so it will soak into the pen quickly. You do not need to apply a very thick layer of color, as this will not only spread the paint unevenly, but will also spoil the whole craft. The frizzes will stick together and ruffle a lot.
If you use watercolor, you won't be able to apply a thin drawing as you would with acrylic paint. So you should think about using a different color to paint the back side - this will create a mottled and original effect. As with the first method, it should take at least an hour between painting the two sides to allow the feather to dry completely.
Feather - Type B
Step 1.: As explained earlier, draw a pen scheme with a pencil. The shape here is shorter and rounder than in the type A pen.
Step 2.: While the paint is still wet, paint by moving the brush, using an up and down motion. This should be done while leaving gaps. In this way, you will see four parts of the darker shade, and the rest will remain.
Continue to paint over the dark areas until you get the desired shade. Wait for the paint to dry. After drying, paint the center part.
Step 3: From the center line, paint lines at an angle of about 45 degrees on both sides. Start with the darker center and start painting from the bottom up. Paint a few lines darker than the rest. The bottom of the pen will leave scuffs the same as the previous pen. Make darkening of the lines, joining them, to each other. That's it.
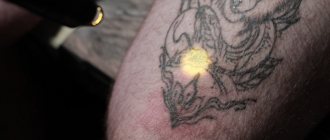
Fluff up the pen with a nail polishing brush.
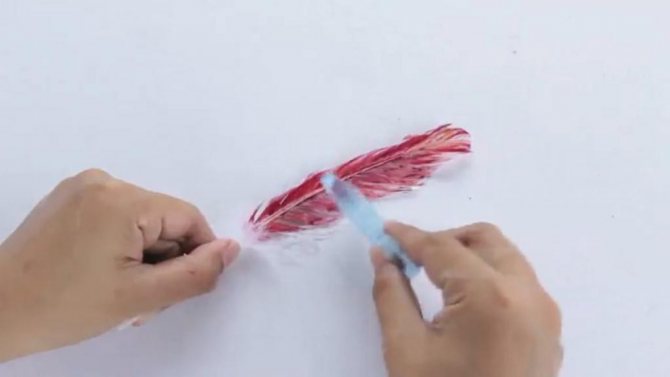
Only do it after making sure that the paint is absolutely dry, otherwise the feather and its coloring will be irrevocably spoiled. Use light strokes, barely touching the brush with your nib, to "brush" it, moving in the direction of hair growth, from the base to the tip. Do this first on one side and then on the other, and repeat several times if necessary.
Since watercolor doesn't work without water, you can't avoid a little sticking of the feather tufts. This is how feathers always react to water. But a polishing brush will definitely save the situation. Now a beautiful and bright feather is ready to take its place in your best craft.
Found a violation? Complain about content
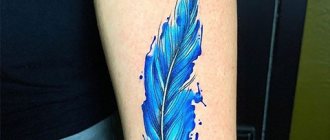
Feather - Type A
Step 1: Draw a light pencil outline in the shape of a feather on watercolor paper. You should have a light hand to do this. Next, we need to do a color wash. Apply a thin layer of clear water inside the feather shape. Wait a few seconds, and when the surface is still wet, drop a few drops of paint.
Go over the pattern using a very light shade of the same color while it is still wet. A light shade can be achieved by adding more water than paint. Wait for the drawing to dry.
Step 2: Darken the middle line of the pen. The bottom of this pen is slightly darker than the top. Draw flat random stitches at the top of the pen. This gives a realistic look to the pen. You will see that the bottom part looks softer than the rest.
This can be achieved by thinning the paint.
Darken a few lines at the top of the pen and the bottom of the pen. Connect the bottom end of the pen to the rest so that they become one. You can do this by starting lines from the top of the pen to the bottom of the pen. And you have just created your first pen.